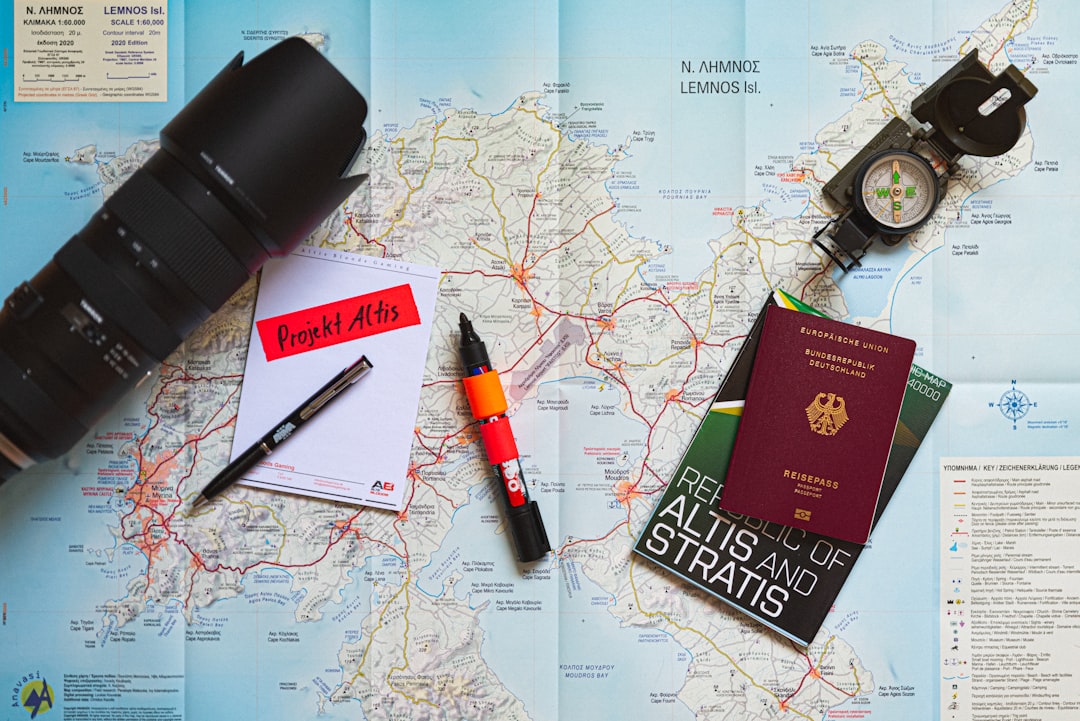

Struggling to capture vacation photos that spark joy instead of another blurry filler? These easy, pro-tested techniques will transform your snapshots into memorable images you will actually want to print and share.
1. Chase the golden and blue hours for richer light
Soft, angled light in the hour after sunrise and the hour before sunset makes colors pop and harsh shadows relax. That warm shift in color temperature flatters skin tones and reveals texture in scenery without the need for heavy editing.
Blue hour, the time just after sunset or before sunrise, offers cool tones and a calm atmosphere that work beautifully for cityscapes and waterfronts. Plan a short walk or set an alarm to be in position before the magic starts so you are composing while the light changes.
Pro Tip: Use your phone or a sunrise/sunset app to map the exact golden hour times for each location, and arrive 20 minutes early to scout composition.
2. Clean your lens and steady the shot
A smudge or fingerprint can ruin detail and contrast, especially in bright conditions or at night. Wipe lenses with a microfiber cloth before every shoot, and keep a small cleaning kit handy for sandy or wet destinations.
If you feel any shake, stabilize using a compact tripod, a wall, or steady elbows pressed to your body. For low light scenes, raise ISO only after you have tried longer shutter speeds with stabilization to maintain image quality.
Quick Tip: Carry a lightweight travel tripod or a foldable wrist strap to reduce blur without adding much weight to your bag.
3. Use simple composition and the rule of thirds
Complex scenes confuse the eye, while simple compositions guide attention to your subject. Place key elements along imagined gridlines to create balance and visual interest without clutter.
Move slightly left, right, up, or down to find a more compelling frame instead of center placing everything by default. Negative space can be powerful, so let empty areas breathe around your subject.
Expert Insight: Turn on your camera grid and practice placing horizons on the top or bottom third rather than the middle to boost impact instantly.
4. Add a human element for instant storytelling
Photos with people feel relatable and memorable, even if the person is silhouetted or out of focus. A subject walking, laughing, or looking toward a view gives the viewer a point of entry into the scene.
If you travel alone, use a self-timer or ask a fellow traveler to snap a few shots, then return the favor. Candid moments often look better than overly posed ones, so encourage natural movement and interaction.
Insider Tip: Place your subject slightly off-center and capture them interacting with the environment to create emotion and scale.
5. Use foreground interest to create depth
Add a near object like a rock, plant, or bench to lead the eye into the main subject and provide three-dimensional feel. Foreground elements create layers that make images feel immersive rather than flat.
Get low or move closer to include textures in the front of the frame, then focus a bit past that object so both foreground and background remain meaningful. This technique works well at wide apertures or with a narrow aperture depending on how much you want in focus.
Heads Up: Watch for distracting foreground items that steal attention, and reposition them so they complement rather than compete with your subject.
6. Shoot RAW and bracket key exposures
RAW files retain more detail and color range than compressed JPEGs, giving you flexibility when adjusting exposure and white balance. That extra latitude rescues highlights and recovers shadow detail after you edit.
For tricky scenes with bright skies or deep shadows, take multiple exposures at slightly different settings to blend later or choose the best one. Bracketing is fast and low risk, and modern phones often have HDR modes that do this automatically.
Worth Knowing: If storage is a concern, shoot RAW+JPEG selectively for your best scenes and enable bracketing only when the light is challenging.
7. Learn the basics of aperture, shutter speed, and ISO
Understanding how aperture controls depth of field, shutter speed freezes or blurs motion, and ISO affects noise gives you creative control. A few minutes of practice switching these settings transforms how reliably you capture the image you imagine.
Start with aperture priority to control depth of field, and use shutter speed priority for action or low light when you need to freeze motion. Push ISO up only as needed, and check results, making adjustments before the moment passes.
Pro Tip: Memorize three go-to settings for portraits, handheld twilight, and motion shots so you can react quickly without guessing.
8. Use reflections and symmetry for dramatic visuals
Reflections on water, glass, or wet pavement multiply visual interest and create clean, symmetrical compositions that draw attention. Watch for puddles after rain, calm lakes, or reflective building facades to add variety to your shots.
Symmetry can be striking but careful placement is essential, so take time to align the line of reflection with the frame. Try shooting slightly off-center too, and see which version creates a stronger mood.
Quick Tip: Lower your camera height to get closer to reflective surfaces, which usually improves the strength and clarity of the mirror image.
9. Change perspective, move closer, and crop later
Walking a few steps left, right, forward, or getting lower can turn a mediocre shot into something memorable. Small perspective shifts alter relationships between elements and can remove clutter or emphasize subjects.
Physically move to get closer rather than relying on zoom to preserve detail and image quality. If you must crop later, do so mindfully so the final composition keeps proper resolution for printing or sharing.
Expert Insight: Try at least three vantage points for each scene you like: wide, mid, and close, so you have options to tell different parts of the story.
10. Edit with intent and backup right away
Editing should enhance what you saw, not mask it. Make small adjustments to exposure, color, and contrast, then step away and return to check whether changes still feel natural and emotional.
Immediately back up your photos to cloud storage or a portable drive when you can, and organize by date or location so you can find favorites quickly. A reliable backup plan protects your memories and frees you to be more adventurous while traveling.
Insider Tip: Create a short post-trip workflow: import, pick the best shots, apply light edits, export, and back up, so the job does not pile up into an overwhelming task later.
Wrap It Up With One Simple Habit
Consistent small improvements beat a single perfect technique, so pick one tip to practice on every outing until it feels natural. Which of these techniques will you try on your next trip?